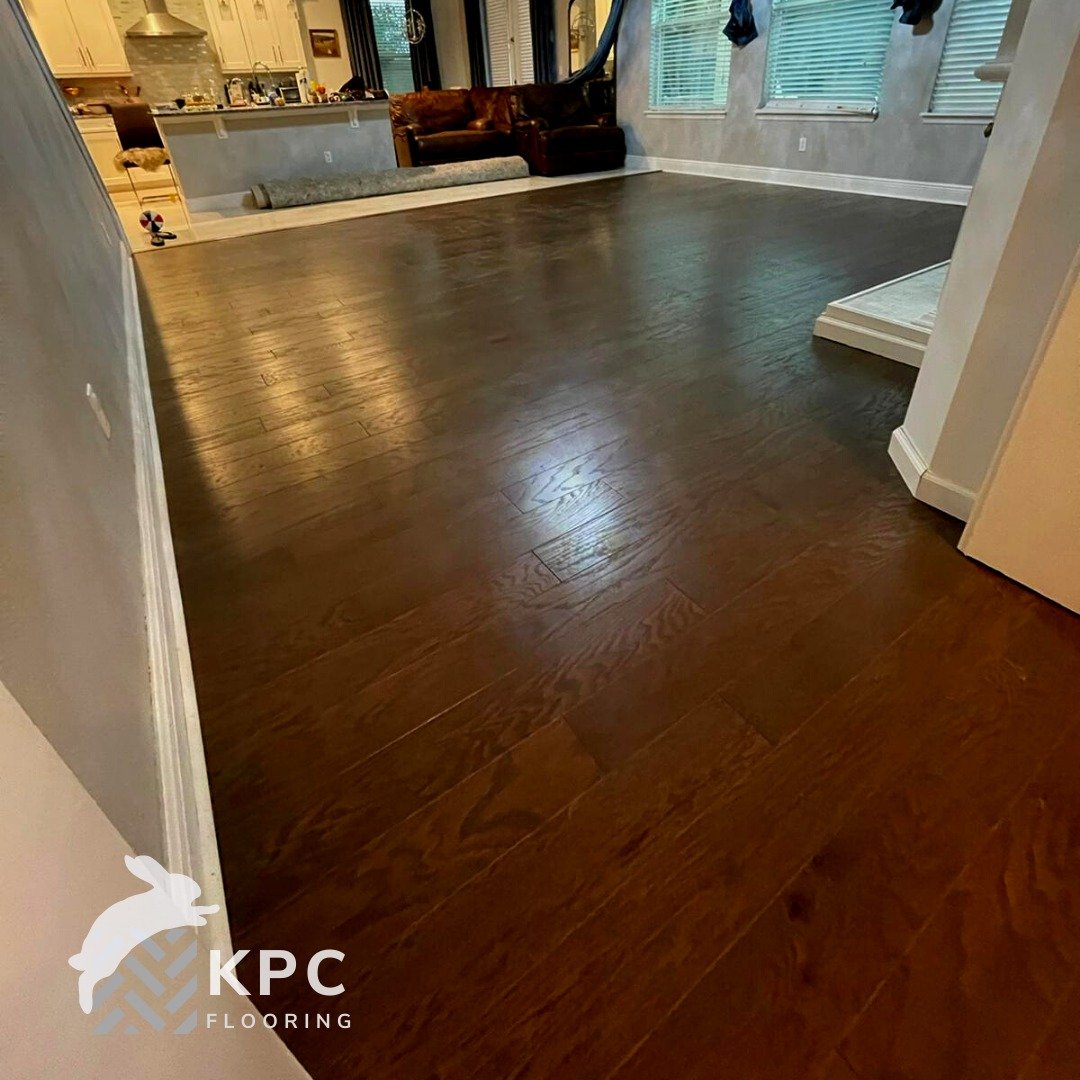
Hardwood Flooring Installation Orlando
Hardwood Flooring Installation & Replacement Services Near Orlando
Hardwood Flooring Installation in Orlando
Hardwood flooring installation and replacement services involve the process of installing or replacing wooden flooring in a home or commercial space. The process typically starts with a consultation, during which the flooring contractor will evaluate the space and discuss options with the homeowner or local business. During the installation process, our experts will remove any existing flooring and prepare the subfloor for the new hardwood. This may include leveling the subfloor, filling any gaps or cracks, and ensuring that the subfloor is clean and dry.
Next, our Orlando hardwood flooring contractors will lay the new planks, making sure that they are properly spaced and aligned. They may also install a moisture barrier, if necessary, to protect the new flooring from developing moisture damage. After the new hardwood is installed, our specialists will then sand and finish the flooring, to give it a smooth and polished appearance. The final step is to apply a sealant or finish to protect the flooring from scratches and stains.For replacement services, the process is similar, but instead of installing new hardwood, we will remove the existing flooring and replace it with new hardwood planks. It is important to choose a reputable and experienced flooring company near Orlando for hardwood flooring installation and replacement services, as a proper install and finishing are crucial to the longevity and appearance of the flooring.
The Hardwood Flooring Installation Process Step By Step
Preparing the Subfloor: Before installing hardwood flooring, the subfloor must be prepared. This includes removing any existing flooring, cleaning the surface, and leveling it. The subfloor should also be checked for moisture and any issues should be addressed before installation.
Measuring the Room: Measure the room in which the hardwood flooring will be installed. This will help determine the amount of flooring needed and ensure a proper fit.
Planning the Layout: Plan the layout of the hardwood flooring in the room. This includes determining the direction of the planks, as well as any cuts that will need to be made to fit around door frames, stairs, and other obstacles.
Cutting and Fitting the Planks: Using a saw, cut the hardwood planks to fit the layout of the room. Test fit the planks to ensure they fit properly before moving on to the next step.
Applying Adhesive: Apply adhesive to the subfloor using a trowel. This will help secure the hardwood planks in place.
Laying the Planks: Begin laying the planks in the room, starting with the first row and working your way towards the back of the room. Make sure the planks are securely in place and level before moving on to the next row.
Nailing or Staple the Planks: After the planks are in place, use a nail gun or staple gun to secure them to the subfloor. This will ensure the planks stay in place and do not shift over time.
Sanding and Finishing: Once the hardwood flooring is installed, it will need to be sanded and finished. This will smooth out any rough edges and give the floor a polished look.
Cleaning and Maintenance: Finally, the floor should be cleaned and maintained to ensure that it will last long term. This includes regular vacuuming, sweeping, and mopping, as well as using the appropriate cleaners that are appropriate for the type of hardwood flooring you're dealing with.
